
When you hit the late game in GRAIN ROT, gold stops being about survival and becomes the real weapon. The difference between a successful deep extraction and a wasted run often comes down to how well you understand the shop system, salvage values, and debris pricing. This guide breaks down exactly where your gold should flow once you've outgrown the early game.
The Outpost economy shifts dramatically after your first dozen successful extractions. Early on, you're scraping together enough gold for basic repairs and the cheapest upgrades. By late game, you're looking at six-figure gold sinks that require deliberate planning around the Murch shop and Biggie shop — the two main vendors that control your progression ceiling.
If you’re looking to turn that surplus into serious late-game wealth, check out our full guide on Grain Rot How To Get Gold for the exact farming and selling strategies.
Late Game Money Sources: Beyond Basic Extraction Runs
While extraction runs remain your primary income, late game money in GRAIN ROT comes from understanding salvage value at a granular level. The difference between a 4-figure and 5-figure run often comes down to knowing which debris pieces are worth carrying and which are dead weight.
According to community data from the official Discord, players who consistently pull deep-layer furniture pieces report earning 2-3 times more per hour than those farming surface-level debris. The key is understanding the weight-to-value ratio of every item you pick up.
Salvage Value Tiers Explained
Not all salvage is created equal. The game assigns value based on rarity, condition, and furniture type. Here's what experienced players track: Rarity governs base value, condition applies a damage multiplier, and furniture type decides whether an item is better sold, ground, or placed in the Outpost.
| Salvage Tier | Example Items | Base Value | Weight | Value per Slot |
|---|---|---|---|---|
| Common Debris | Rusted pipes, broken chairs | 50-150 gold | 1-2 slots | 50-75 gold |
| Uncommon Salvage | Intact tables, wall decor | 200-400 gold | 2-3 slots | 100-133 gold |
| Rare Furniture | Ember lamps, carved wardrobes | 500-900 gold | 3-4 slots | 125-225 gold |
| Epic Pieces | Corrupted altars, royal beds | 1,200-2,000 gold | 4-5 slots | 240-400 gold |
| Legendary Artifacts | Vessel cores, relic fragments | 3,000-5,000 gold | 5-6 slots | 500-833 gold |
The debris price for common items stays flat regardless of depth, which means carrying cheap junk from deep runs is almost always a mistake. Veteran players report that rare furniture pieces from the third layer down are the sweet spot for consistent profit, since they offer strong value without the extreme risk of epic and legendary items.
Furniture vs. Scrap: What Actually Sells
When you're planning a run, the furniture guide becomes your most valuable reference. Community testing shows that intact furniture pieces sell for roughly 3-4 times more than equivalent-weight scrap debris, even when the scrap is from deeper layers. The math is straightforward: a carved wardrobe taking 4 slots sells for 700-900 gold, while four pieces of scrap debris taking the same slots might net you 400-600 gold total. That difference compounds across a full extraction run, especially when you're carrying 20+ slots of loot.
Murch Shop Guide: What to Buy and When
The Murch shop is your primary equipment vendor, and knowing how to buy from Murch efficiently separates profitable runs from break-even ones. Murch stocks rotating inventory that refreshes after each extraction, though the exact rotation pattern appears semi-random based on community observations. Late game players should focus on consumable restocking and tool upgrades from Murch rather than spending gold on basic gear. The shop's value proposition shifts dramatically once you have endgame vessels equipped.
Murch's Inventory Rotation
| Category | Typical Items | Price Range | Priority |
|---|---|---|---|
| Consumables | Bandages, stamina tonics, fire resistance | 100-400 gold | High |
| Tools | Lockpicks, salvage kits, repair hammers | 250-800 gold | Medium |
| Gear Mods | Attachment upgrades, grip wraps | 500-1,500 gold | Situational |
The repair hammer is the single most important purchase from Murch for late game players, because it lets you fix damaged furniture pieces before extraction. A repaired epic furniture piece sells for 30-40% more than a damaged one, which makes the 400-gold hammer investment almost always worth carrying.
When to Skip Murch
Not every Murch visit is worth your gold. Experienced players recommend skipping the shop entirely when you're saving for a major vessel upgrade, because consumables can be crafted from salvage materials you already have. The grain rot how to buy decision tree comes down to one question: does this purchase increase your extraction ceiling, or just patch a temporary problem?
If you're dying to the Corrupted because of low health, buying bandages is a stopgap. If you're dying because your vessel can't handle deep-layer heat, that's a gear problem that consumables won't fix. Late game money should flow toward permanent upgrades first, with consumables as a secondary priority.
According to GRAIN ROT on Steam, the game’s late-game economy shifts to bulk grain sales, where rot mechanics and storage capacity directly cap your profit margins. Bulk grain shipments reward players who stack large hauls in a single run, since the vendor pays a premium per unit once you cross certain volume thresholds.
Biggie Shop Guide: The Endgame Gold Sink
The Biggie shop is where late game money really matters. Biggie deals in high-tier furniture, rare materials, and vessel components that you can't reliably find in extraction runs. This shop is the primary reason players accumulate large gold reserves in the first place.
Biggie's inventory is significantly more expensive than Murch's, but the items are proportionally more impactful. Community data suggests that Biggie's stock rotates on a longer cycle — roughly every 5-7 extractions — which means you need to plan purchases around availability rather than impulse buying.
Biggie's Premium Inventory
| Item Type | Examples | Price Range | Worth It? |
|---|---|---|---|
| Vessel Components | Ember cores, heat sinks | 2,000-5,000 gold | Yes, if needed |
| Rare Materials | Corrupted essence, ash silk | 800-2,500 gold | Yes, for crafting |
| Premium Furniture | Royal beds, ornate mirrors | 1,500-4,000 gold | Only for outpost |
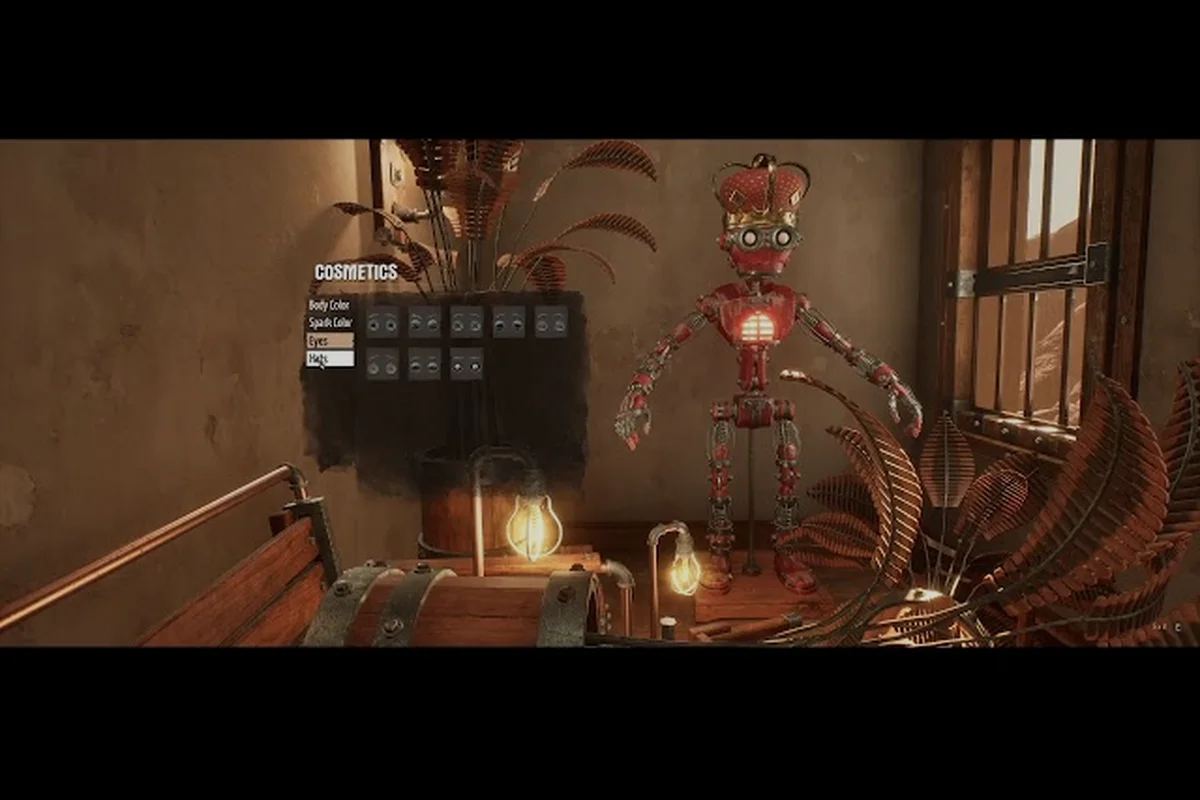
| Cosmetic Items | Paint schemes, banner designs | 500-1,500 gold | No, late game |
The ember core is widely considered the best value purchase from Biggie because it directly improves your vessel's heat tolerance, which unlocks deeper extraction routes. Players who prioritize saving for this item report significantly smoother progression through the mid-game wall.
Biggie vs. Extraction: Value Comparison
One of the most common late game money mistakes is buying items from Biggie that you could reasonably extract yourself. The shop guide rule of thumb is: if an item appears in Biggie's stock and also drops from deep-layer extraction, you should farm it instead of buying it.
The exception is time efficiency. If you're spending three hours trying to extract a specific component that Biggie sells for 3,000 gold, and your extraction runs average 1,500 gold per hour, buying it outright is actually more efficient. Late game money management is about opportunity cost, not just raw gold totals.
Salvage Value Optimization: Getting More Per Run
Maximizing salvage value requires understanding the extraction economy beyond just grabbing the most expensive items. The best late game players think in terms of gold per slot per minute, not just gold per item. Your extraction route should be planned around known spawn points for high-value furniture, which means memorizing the map layouts for each depth layer. Community mapping efforts have identified consistent spawn patterns for rare furniture pieces, and players who follow these routes report 20-30% higher average run value.
Debris Price Checklist
Before you commit to carrying an item, run through this mental checklist:
-
Weight check: Does this item exceed 3 slots? If so, it needs to be worth 300+ gold to justify the space.
-
Condition check: Is this item damaged? Damaged items sell for 30-50% less, so factor that into your decision.
-
Depth check: Are you still going deeper? If so, you might find better items and should skip marginal debris.
-
Extraction risk: How far are you from extraction? High-value items in deep layers are worthless if you can't escape with them.
The debris price for common items is consistent across all depths, which means carrying low-tier scrap from deep runs is a pure waste of carry capacity. Focus on furniture pieces and rare materials once you're past the second layer. Every common scrap you drag out of layer 3 wastes slots that could carry an 80-120 gold lamp, so learn to leave low-tier debris behind once your routes stabilize.
The Trolley Strategy
For solo players, the trolley is your best friend for maximizing carry capacity. The trolley adds 10 extra slots but slows your movement significantly, which creates a risk-reward tradeoff. Community testing shows that the trolley is worth using when you have at least 6 high-value items secured, but not for scattered low-tier loot.
Duo and squad players have an advantage here: one player can run the trolley while others scout ahead and clear threats. This division of labor lets you extract 20-30% more loot per run compared to solo play, which directly translates to more late game money over time.
Late Game Spending Priorities: Where Gold Goes
Once you understand how to earn grain rot late game money, the next question is where to spend it. The upgrade priority list changes significantly in the late game, and players who spend gold on the wrong things hit progression walls that take dozens of runs to overcome. The first priority is vessel upgrades, specifically heat resistance and carry capacity. These two stats directly determine how deep you can go and how much you can bring back, making them the foundation of your late game economy.
The Spending Hierarchy
| Priority | Category | Why It Matters |
|---|---|---|
| 1st | Vessel heat resistance | Unlocks deeper extraction routes |
| 2nd | Vessel carry capacity | More loot per run |
| 3rd | Outpost storage | Holds materials for crafting |
| 4th | Weapon upgrades | Faster clear times, less damage taken |
| 5th | Cosmetic items | No gameplay impact, last priority |
The outpost storage upgrade is often overlooked, but it's critical for late game efficiency because it lets you stockpile materials for crafting rather than selling everything immediately. A well-stocked storage means you can craft consumables and repair kits without spending gold at Murch, which saves thousands of gold over time.
When to Stop Spending
There's a point where hoarding gold becomes counterproductive. Community reports suggest that keeping a 50,000 gold reserve is sufficient for any emergency purchase, and anything beyond that should be invested in upgrades or used to fund riskier extraction runs. The grain rot how to buy philosophy among top players is simple: spend gold on anything that increases your extraction ceiling, and hold gold only as a safety net. If you're sitting on 200,000 gold with maxed-out vessels and storage, you're leaving progression on the table.
Frequently Asked Questions
What is the best way to make grain rot late game money?
The most efficient method is running deep-layer extraction routes targeting rare furniture pieces, which sell for 700-2,000 gold each. Focus on furniture pieces over scrap debris, and use the trolley for large hauls. Players report 3,000-5,000 gold per hour with optimized routes.
How do I buy items from Murch and Biggie?
Interact with each vendor at the Outpost between runs. Murch sells consumables and tools, while Biggie offers premium items like vessel components and rare materials. Both shops refresh their inventory on rotation cycles, so check back regularly for high-value items.
What is the salvage value of common debris?
Common debris like rusted pipes and broken chairs sells for 50-150 gold per piece. The debris price stays consistent regardless of extraction depth, making it poor value for carry slots. You're better off leaving common debris behind once you can reliably reach deeper layers.
Should I buy from Biggie or farm items myself?
It depends on your time efficiency. If an item costs 3,000 gold at Biggie and takes more than two hours to farm, buying it is worth it. Otherwise, extraction is more profitable. The shop guide rule is to compare the gold cost against your average hourly extraction income.
What should I prioritize buying in the late game?
Vessel heat resistance and carry capacity upgrades come first, since they let you haul more grain per trip without wrecking your ship near the rot vents. Next, expand outpost storage so you can stockpile between sales. Skip Biggie's cosmetics until your per-run profit tops 20k credits.