
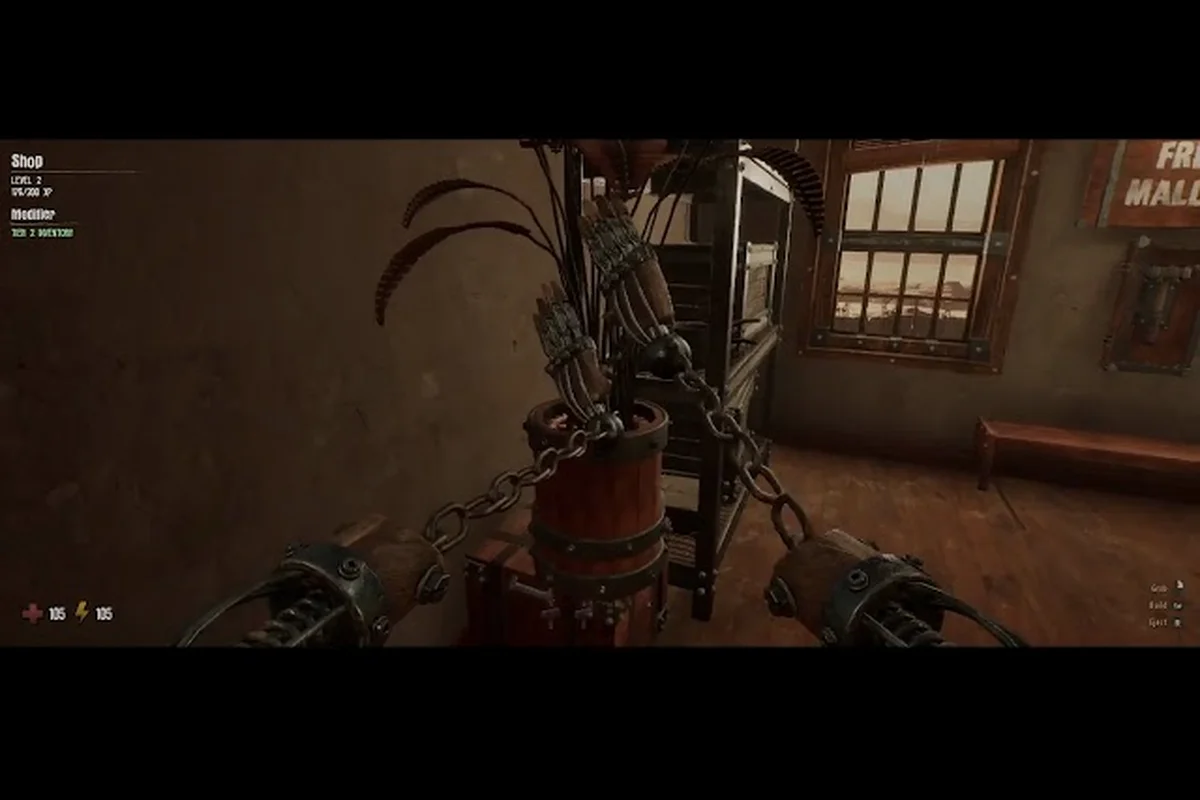
Every run in GRAIN ROT ends the same way: you crawl back to the Outpost with a bag full of ripped-out chairs, broken tables, and whatever else you could tear from the scorched ruins. What you do with that grain rot furniture material determines whether your next extraction gets easier or ends with the Corrupted closing in. This guide breaks down which salvage is worth hauling, what the Grinder actually pays, and how to turn junk into a fortress.
The extraction loop rewards players who understand the difference between grain rot building materials that upgrade your Outpost and worthless scrap that only eats inventory space. Since the game launched on Steam on August 7, 2026, community testing has already mapped out the most efficient salvage routes and Grinder payout tables. Here is everything you need to know before your next descent.
Understanding Grain Rot Furniture Material Tiers
Not all furniture in the ruins carries the same value, and the grain rot furniture material system ranks salvage into distinct tiers that directly influence both Workshop recipes and Grinder payouts. When you rip a couch from a collapsed apartment or wrench a cabinet from a burnt-out kitchen, the game assigns it a quality rating based on the zone depth and the furniture type itself. The tier system works like this:
-
Tier 1 (Common) — Basic chairs, stools, and small tables found in the first two descent levels. These weigh little but return minimal gold when fed to the Grinder.
-
Tier 2 (Uncommon) — Dressers, desks, and medium shelving units. These appear in mid-depth ruins and provide a solid balance of weight-to-value ratio.
-
Tier 3 (Rare) — Grand wardrobes, ornate bed frames, and reinforced safes. Found deeper in the shifting ruins, these are the primary source of high-value grain rot building materials.
-
Tier 4 (Epic) — Antique pieces, ceremonial altars, and corrupted relics. Extremely rare, but they fuel the best Workshop upgrades and cosmetic unlocks.
| Furniture Tier | Example Items | Typical Zone Depth | Grinder Gold Range | Workshop Use |
|---|---|---|---|---|
| Tier 1 Common | Stools, Small Chairs | Levels 1-2 | 5-15 gold | Basic walls, fuel |
| Tier 2 Uncommon | Dressers, Desks | Levels 3-4 | 20-45 gold | Storage, workbenches |
| Tier 3 Rare | Wardrobes, Safes | Levels 5-6 | 60-120 gold | Defenses, advanced crafting |
| Tier 4 Epic | Antiques, Relics | Levels 7+ | 150-300 gold | Cosmetic unlocks, top-tier gear |
According to community data from the official GRAIN ROT Discord, players who prioritize Tier 3 and Tier 4 furniture over bulk common scrap see roughly 40% faster Outpost progression because the Workshop recipes demand high-tier materials rather than sheer volume. The game's weight system also punishes hoarding, so learning which pieces justify their inventory slots matters more than grabbing everything in sight.
The Workshop: Turning Salvage Into Building Materials
Once you haul your loot back to the Outpost, the Workshop becomes your primary hub for converting raw furniture into usable grain rot building materials. This station sits near the center of your base and functions as the crafting heart of your operation. Understanding its mechanics early prevents wasted resources and accelerates your rebuild.
The Workshop accepts any salvaged furniture and breaks it down into component materials. The conversion rates depend on both the tier of the item and your current Workshop upgrade level. A base-level Workshop converts Tier 1 items at a 1:1 ratio, but upgrading the station unlocks efficiency bonuses that stretch every haul further.
Workshop Upgrade Ladder
Your Workshop levels up through a dedicated progression tree that costs both gold and specific grain rot furniture material types. The upgrade path looks like this:
-
Level 1 (Base) — Converts furniture at standard rates, unlocks basic wall and floor recipes.
-
Level 2 — Unlocks the Grinder attachment, increases conversion efficiency by 15%, and enables storage crate crafting.
-
Level 3 — Doubles Grinder gold output for Tier 1 items, unlocks defensive barricades, and adds a salvage sorting system.
-
Level 4 — Unlocks cosmetic crafting recipes, increases all conversion rates by 25%, and enables the Sanctuary expansion.
| Workshop Level | Upgrade Cost | Unlocks | Efficiency Bonus |
|---|---|---|---|
| Level 1 | None (starting) | Basic walls, floors | 0% |
| Level 2 | 500 gold + 20 Tier 2 materials | Grinder, storage crates | +15% |
| Level 3 | 1,200 gold + 30 Tier 3 materials | Barricades, salvage sorting | +25% on Tier 1 |
| Level 4 | 2,500 gold + 15 Tier 4 materials | Cosmetics, Sanctuary wing | +25% all tiers |
Community reports indicate that rushing the Workshop to Level 2 should be your first major Outpost goal because the Grinder attachment fundamentally changes how you generate income. Without it, you are stuck selling raw furniture at the shop for pennies compared to what the Grinder pays for processed materials. The GRAIN ROT outpost guide covers the full base-building priority order if you want the complete roadmap.
Grinder Gold Values and the Sanctuary Connection
The Grinder represents the fastest legitimate gold source in GRAIN ROT, but only when you understand which grain rot furniture material deserves processing versus direct sale. The Grinder sits inside the Workshop and accepts all furniture types, converting them into raw gold based on a payout table that the developers have tuned since the early playtests.
According to patch notes shared on the official Discord, the developers adjusted Grinder values during the playtest phase to prevent certain Tier 2 items from being farmed too efficiently. The current payout structure rewards diversity over volume, meaning feeding the Grinder a mix of furniture types yields better returns than dumping twenty identical chairs.
Optimal Grinder Feeding Strategy
-
Tier 1 furniture — Always grind these. The gold output exceeds shop sale prices by roughly 30%, and the weight-to-value ratio makes them poor extraction candidates anyway.
-
Tier 2 furniture — Grind only when you have surplus. Some Tier 2 pieces are needed for Workshop upgrades, so check your current crafting requirements first.
-
Tier 3 furniture — Sell these at the shop instead of grinding. The shop pays premium gold for rare pieces, and the Grinder's conversion rate for Tier 3 items sits below market value.
-
Tier 4 furniture — Never grind these. They fuel the best Workshop recipes and cosmetic unlocks, making them too valuable to convert into raw gold.
The Sanctuary adds another layer to this economy. This Outpost wing unlocks after you reach Workshop Level 4 and serves as both a cosmetic display area and a passive income generator. When you place high-tier furniture in the Sanctuary, it attracts grain rot survivors who pay daily tribute in gold and occasionally gift rare materials.
| Furniture Placement | Sanctuary Income | Survivor Attraction | Notes |
|---|---|---|---|
| Tier 1 items | 2 gold/day | Low | Minimal benefit |
| Tier 2 items | 5 gold/day | Medium | Decent early income |
| Tier 3 items | 15 gold/day | High | Attracts traders |
| Tier 4 items | 40 gold/day | Very High | Unlocks special events |
Player testing suggests that a fully decorated Sanctuary with six Tier 4 pieces generates 240 gold per day passively, which adds up significantly over extended play sessions. The grain rot home customization guide explains how to maximize Sanctuary placement bonuses and which cosmetic arrangements trigger the best survivor reactions.
Salvage Routes: Maximizing Material Hauls Per Run
Efficient salvage routes separate profitable runs from wasted trips, and the grain rot furniture material you collect directly correlates with how well you plan your descent. The shifting ruins change layout each run, but certain zones consistently spawn higher-tier furniture based on their depth and environmental themes. The extraction loop rewards targeted looting over random grabbing. Players who memorize which room types contain which furniture tiers extract with better hauls while carrying less weight. Community mapping efforts have identified several reliable salvage patterns.
High-Value Salvage Zones
-
Level 1-2 (Burnt Apartments) — Focus on kitchens and living rooms. These spawn Tier 1 and occasional Tier 2 furniture. Clear these fast and extract early.
-
Level 3-4 (Collapsed Offices) — Target corner offices and reception areas. Desks and filing cabinets here consistently spawn as Tier 2, with rare Tier 3 safes in manager offices.
-
Level 5-6 (Ashen Mansions) — Bedrooms and studies hold the best Tier 3 spawns. Grand wardrobes and ornate dressers appear roughly 30% of the time in these rooms.
-
Level 7+ (Corrupted Cathedral) — The deepest zone spawns Tier 4 relics and altars, but Corrupted density makes extraction dangerous. Only experienced squads should attempt these runs.
| Zone | Primary Furniture | Secondary Spawns | Risk Level | Recommended Squad |
|---|---|---|---|---|
| Burnt Apartments | Tier 1 chairs, stools | Tier 2 small tables | Low | Solo or duo |
| Collapsed Offices | Tier 2 desks, cabinets | Tier 3 safes | Medium | Duo or trio |
| Ashen Mansions | Tier 3 wardrobes, beds | Tier 4 rare antiques | High | Full squad |
| Corrupted Cathedral | Tier 4 relics, altars | Unique cosmetics | Extreme | Full squad + gear |
The extraction mechanics themselves matter just as much as what you grab. Since the GRAIN ROT extraction guide points out, carrying too much weight slows your movement and makes you an easier target for the Corrupted. Balance your furniture haul against your escape speed, especially in deeper zones where enemy density spikes.
Cosmetic Crafting and Long-Term Material Investment
Beyond functional base building, grain rot cosmetics represent the endgame sink for your accumulated grain rot furniture material. The Workshop's Level 4 unlock opens a cosmetic crafting menu that transforms high-tier salvage into visual upgrades for both your Outpost and your character. These cosmetics range from wall paints and floor patterns to character accessories and weapon skins. While they offer no gameplay advantage, the prestige factor drives many players to chase rare furniture pieces specifically for their cosmetic potential.
According to GRAIN ROT on Steam, the furniture material’s rot progression is driven by a moisture‑and‑time simulation, where each grain’s structural integrity decays independently based on ambient humidity and contact with contaminated surfaces.
Top Cosmetic Crafting Recipes
-
Ember Wall Paint — Requires 10 Tier 3 materials. Applies a glowing ember pattern to all Outpost walls.
-
Survivor Banner — Requires 5 Tier 4 materials. Displays a custom banner outside your Outpost entrance.
-
Scorched Weapon Wrap — Requires 8 Tier 3 materials. Adds a charred texture to any equipped weapon.
-
Sanctuary Statue — Requires 20 Tier 4 materials. Places a decorative statue that attracts additional survivors.
| Cosmetic Recipe | Material Cost | Gold Cost | Time to Craft | Rarity |
|---|---|---|---|---|
| Ember Wall Paint | 10 Tier 3 | 500 gold | 2 hours | Uncommon |
| Survivor Banner | 5 Tier 4 | 1,000 gold | 4 hours | Rare |
| Scorched Weapon Wrap | 8 Tier 3 | 750 gold | 3 hours | Uncommon |
| Sanctuary Statue | 20 Tier 4 | 3,000 gold | 8 hours | Epic |
The gold economy ties directly into this system because crafting cosmetics requires both materials and currency. Players who feed everything to the Grinder early often find themselves short on gold when the cosmetic recipes unlock. The GRAIN ROT gold guide recommends maintaining a balanced material reserve rather than converting everything to gold, since the Workshop recipes demand specific tier inputs that you cannot buy outright.
Frequently Asked Questions
What is the best grain rot furniture material to farm early?
Tier 2 dressers and desks from the Collapsed Offices offer the best early-game value because they convert efficiently at the Grinder while also counting toward Workshop Level 2 upgrades. Focus on these until your Workshop reaches Level 2, then shift toward Tier 3 pieces from the Ashen Mansions for better long-term returns.
How do I unlock the Grinder in GRAIN ROT?
The Grinder unlocks when you upgrade your Workshop to Level 2, which costs 500 gold and 20 Tier 2 materials. Once built, the Grinder accepts any furniture and converts it to gold based on the payout table. Prioritize this upgrade because the Grinder increases your income by roughly 30% compared to shop sales.
Should I sell or grind Tier 3 furniture?
Sell Tier 3 furniture at the shop rather than grinding it because the shop pays premium rates for rare pieces. The Grinder's conversion rate for Tier 3 items sits below market value, making direct sale the smarter choice. However, always check your Workshop upgrade requirements first, since some recipes need Tier 3 materials.
What attracts more grain rot survivors to my Sanctuary?
Placing Tier 3 and Tier 4 furniture in the Sanctuary attracts more survivors and increases daily tribute payments. A fully decorated Sanctuary with six Tier 4 pieces generates roughly 240 gold per day passively. The Sanctuary Statue cosmetic also boosts survivor attraction rates by an additional 20%.
Can I craft grain rot cosmetics without Tier 4 materials?
No. Tier 4 grain rot furniture material is mandatory for the high-end cosmetic set. You can craft basic furniture with Tier 3 salvage, but the ornate pieces, like the Sanctuary Statue, require 20 Tier 4 units. Farm the Corrupted Cathedral with a squad to secure it safely.